Horizontal Alignment Options
Understanding Horizontal Alignment Options. From the main menu bar, go to Roads → Horizontal Alignment. A window will open to your right. Press the options butto n. The Horizontal Alignment Options t…

Understanding Horizontal Alignment Options
From the main menu bar, go to Roads → Horizontal Alignment. A window will open to your right.
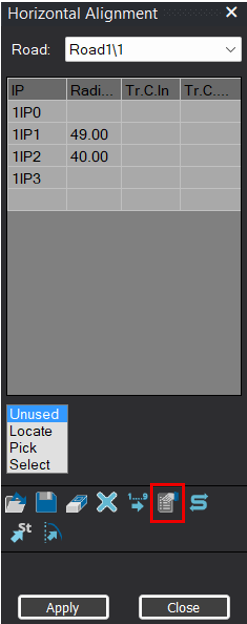
Press the options button. The Horizontal Alignment Options table will open.
Use this window to control:
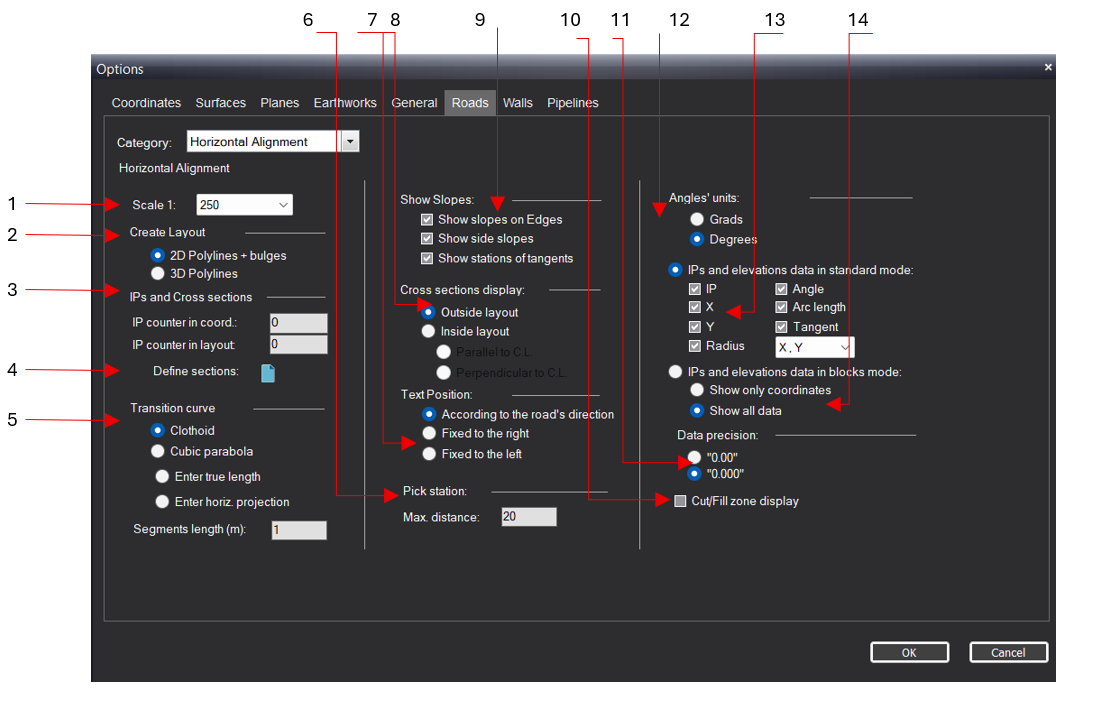
1. Scale - Choose text size – Changing this value will set the font size for the project's Horizontal Alignment Data for the various blocks, section names, and so forth (according to the scale).
2. Create Layout - A road centerline can be either a 2D or 3D polyline. When it is 2D, it consists of lines and arcs and lies on elevation level 0. When it is 3D, it sits at the correct elevation, but its arcs are broken into small line segments.
3. IPs and Cross sections - You may change IP counter in coordinates and IP counter in layout. You can decide whether to start counting the road points from 0 or from 1. This will only work before defining a new road; It cannot be applied to roads that have already been defined in the project.
4. Difine sections - Clicking this button is essential before creating the cross-sections and enables you to set their parameters, such as spacing, sections format and more.
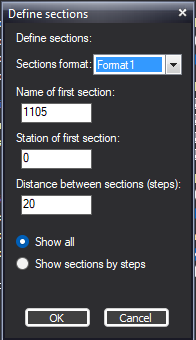
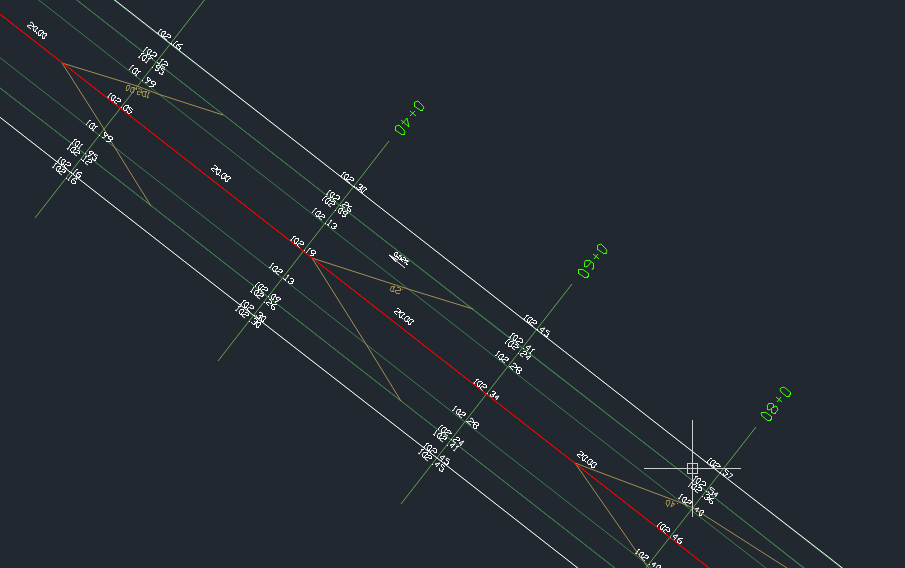
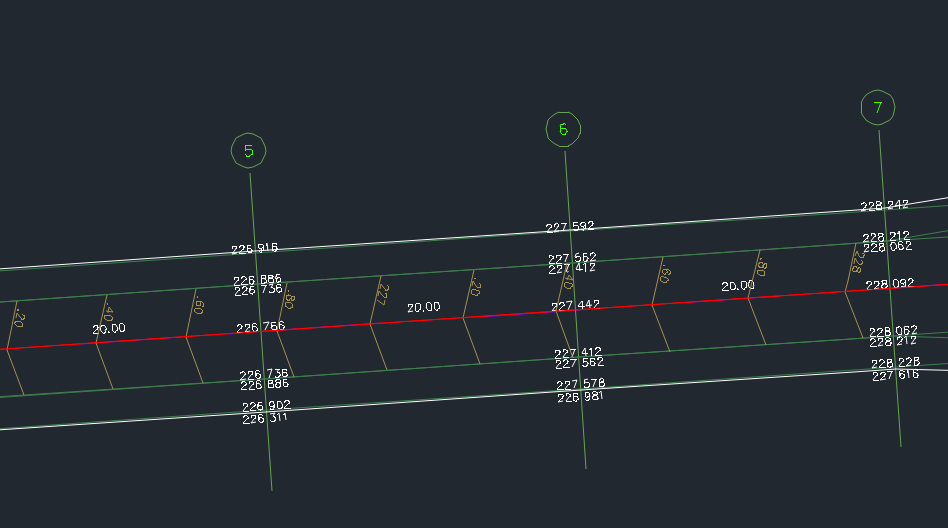
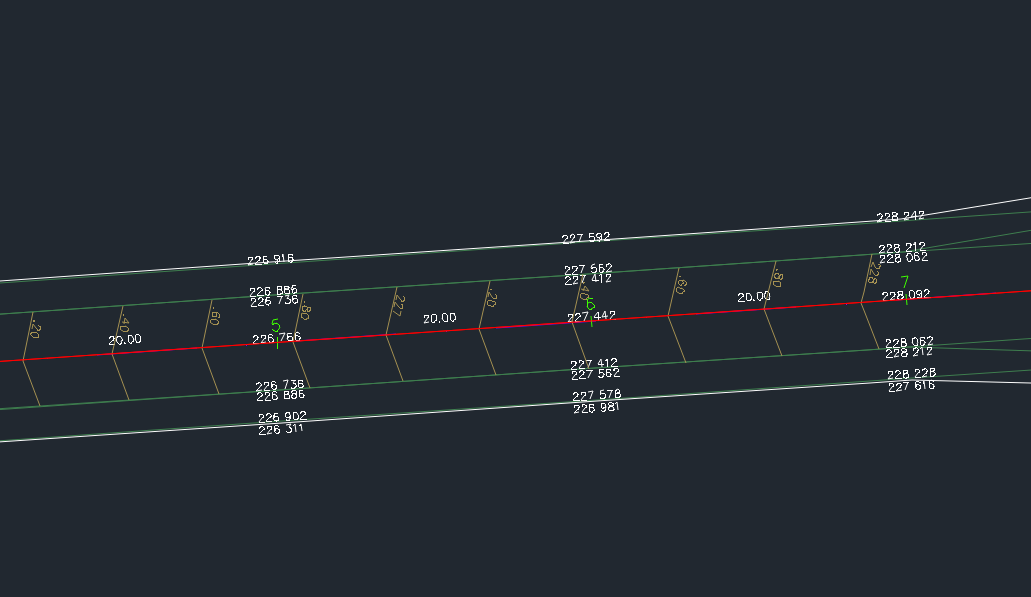
4a. Format 1 - The software displays the names of the section as numbers.
4b. Format 2 - The software displays the names of the section as 0+length from the beginning of the road.
5. Transition arcs settings -
6. Pick stations - Max distance between IP Stations -
7. Text positioning - you can choose if you want your text position according to the road's center line, on the right or on the left of the line. It is recommended to use the default – according to the road's.
8. Cross-section display - This function lets you choose the view direction of the section outside layout or inside layout.
8a. Outside layout.
8b. Inside layout.
When in format 2 you can also decide if the text will be perpendicular or parallel to the central line.
9. Slope settings:
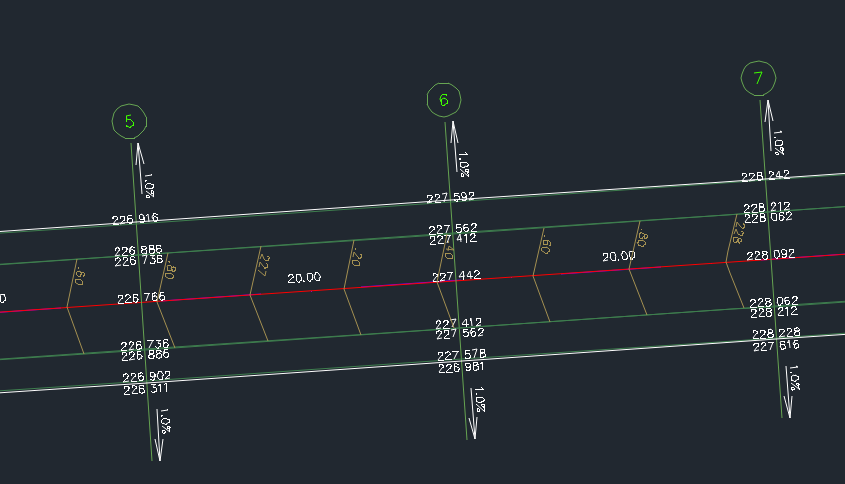
9a. Show slopes on edges - In the event of a steep slope at the edges vicinity. The software will outline lines (beard) according to necessity.

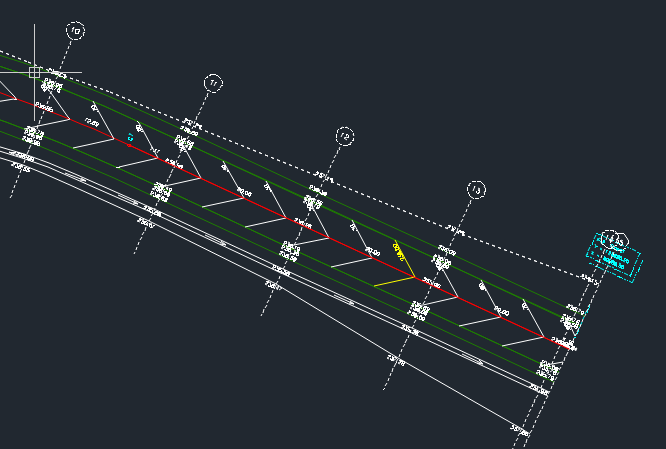
9b. Show side slopes - This option is possible when "Outside layout" option is marked. This option is displayed on the road over the section's mark.
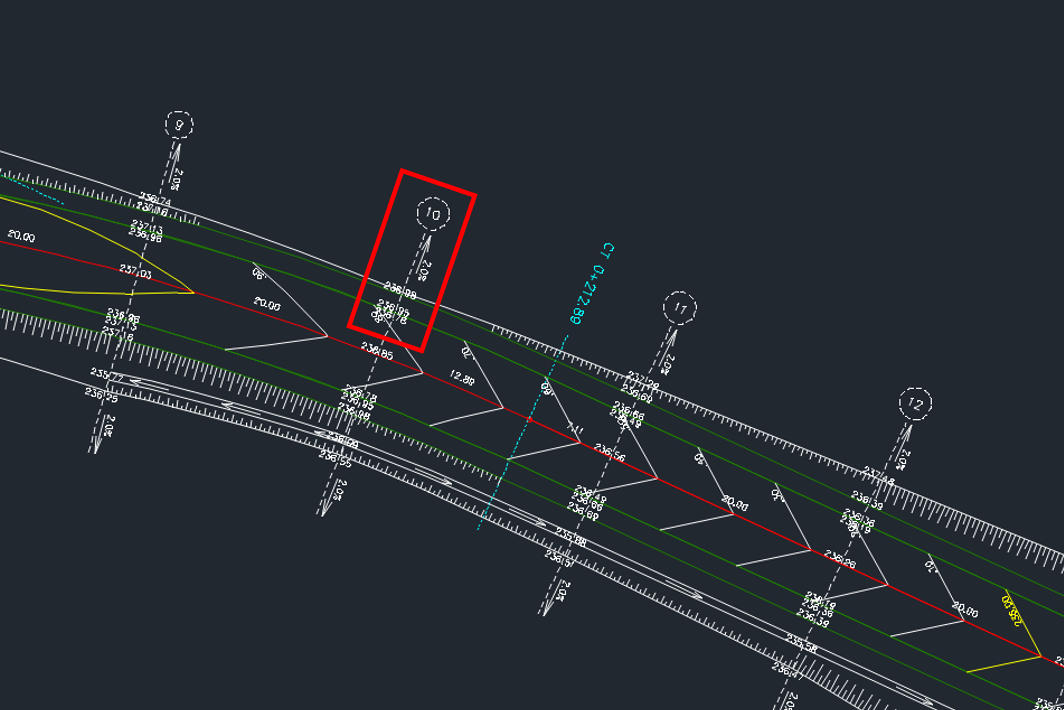
9c.Show stations of tangents - The software will mark the tangents location in addition to the sections.
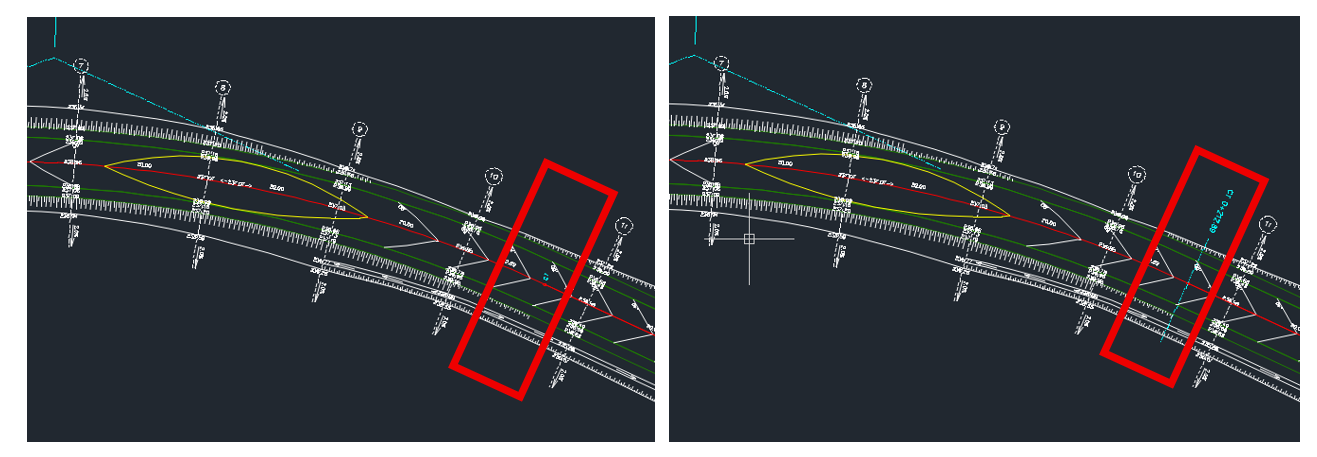
10. Display the transition line for fill and cut areas - CivilCAD will display a line representing the transition point from cut to fill or from fill to cut along the road's alignment.
11. Measurement accuracy - This button allows you to control the measurement precision and change the number of digits after the decimal point.
12. Angle dimensions - This will allow you to control angle's format on the road's elevations.
12a. Grads - the elevations values will be displayed in grads.
12b. Degrees - the elevations values will be displayed in degrees.
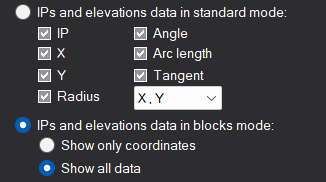
13. Settings for IP Stations in Standard mode - This will allow you to control which values will be visible on the screen.
14. Settings IP Stations in blocks - This will allow you to control which values will be visible on the screen.
👌 Tip: In general, it's preferable to set the parameters in your options table in advance, before starting the road definitions. Some commands do not allow changing the road instance after it has been defined.
How Did We Do?
Horizontal Alignment
Horizontal Alignment Tools